Do you want to create an app for your startup or business but don’t know anything about coding? If yes, then don’t worry because Appstylo got you covered. You can create a fully functional and customized app by adding history navigation, widgets, etc. You don’t even have to get the services of a development agency or a freelancer because it is very cost-effective as well.
All you need to do is just drag and drop elements and customize them based on your requirements. You’ll also have some amazing pre-built app templates that you can use. Now head straight to the point because in this article we’ll be discussing how you can implement History Navigation when creating an app using Appstylo.
Steps To Implement History Navigation
Before following the steps make sure that you sign up and log in to Appstylo. The sign-up process is simple, straightforward, and free as it comes with 7 days free trial. First, we will see what is history navigation, and then how to create it.
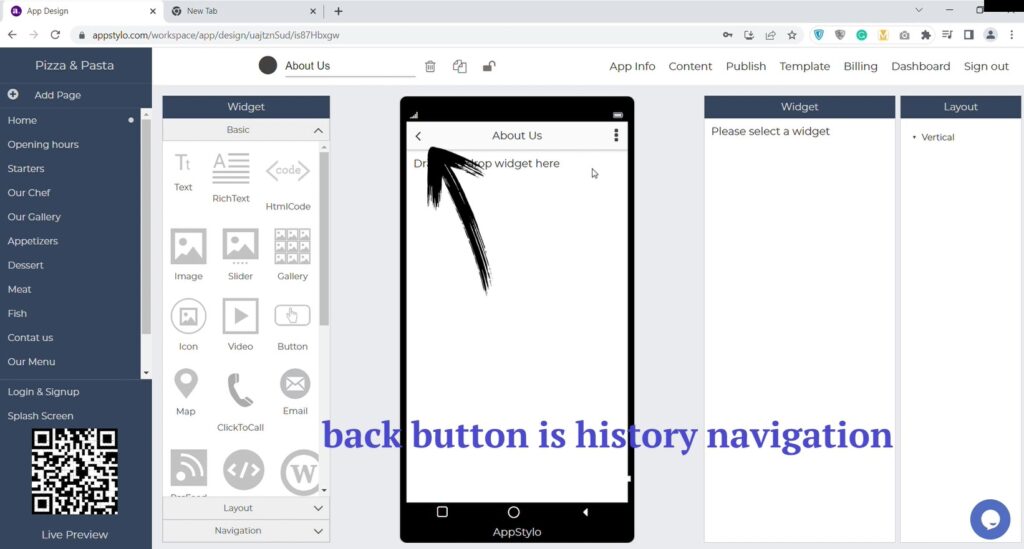
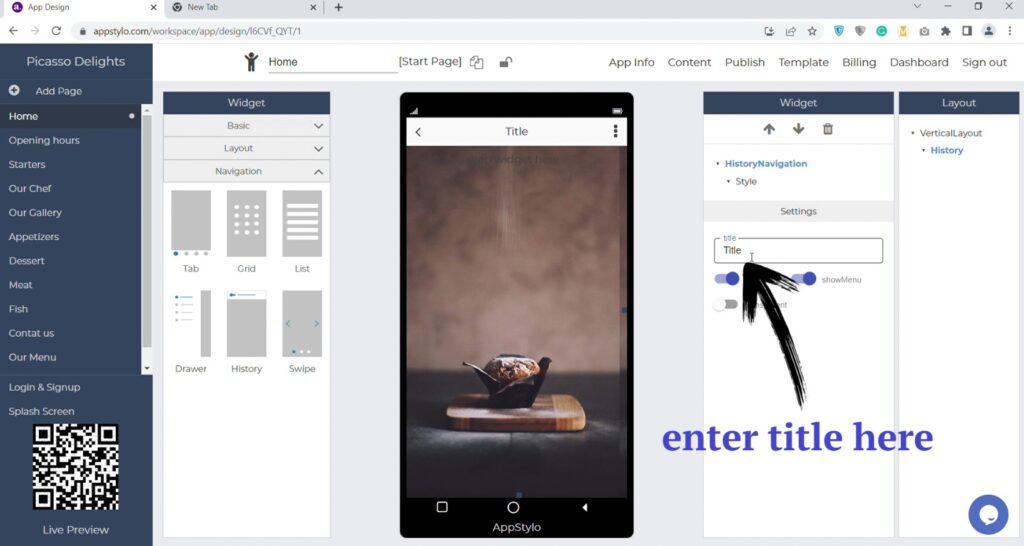
- The back button at the top beside the page title is history navigation. Let’s see how to create it.
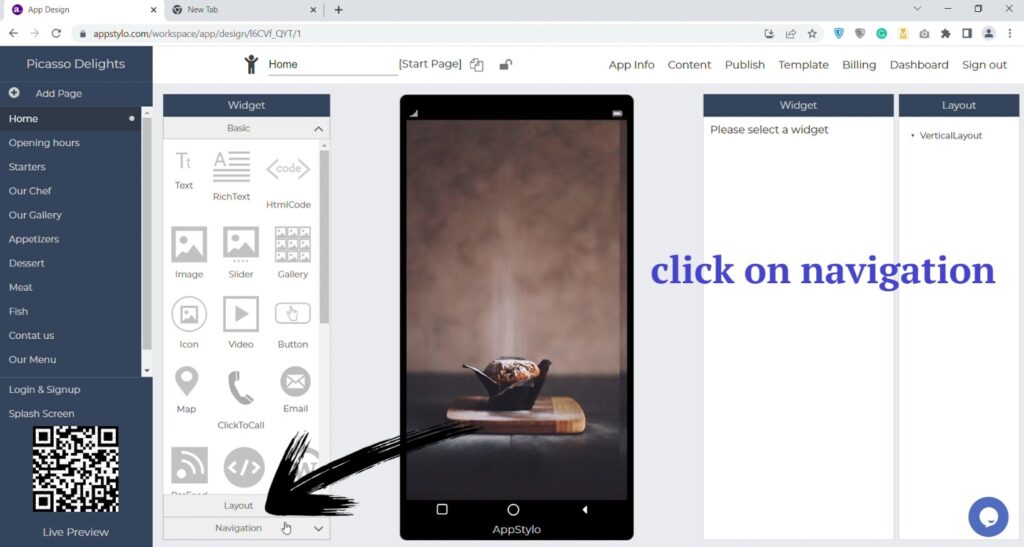
- To creat history navigation, click on “navigation” at the left bottom.
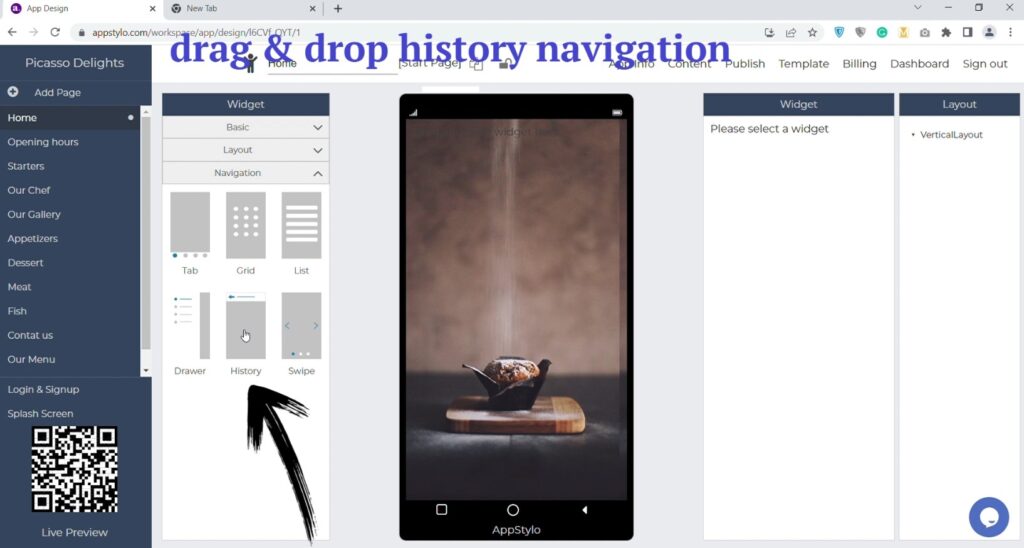
- Now drag and drop “history navigation” on the app screen.
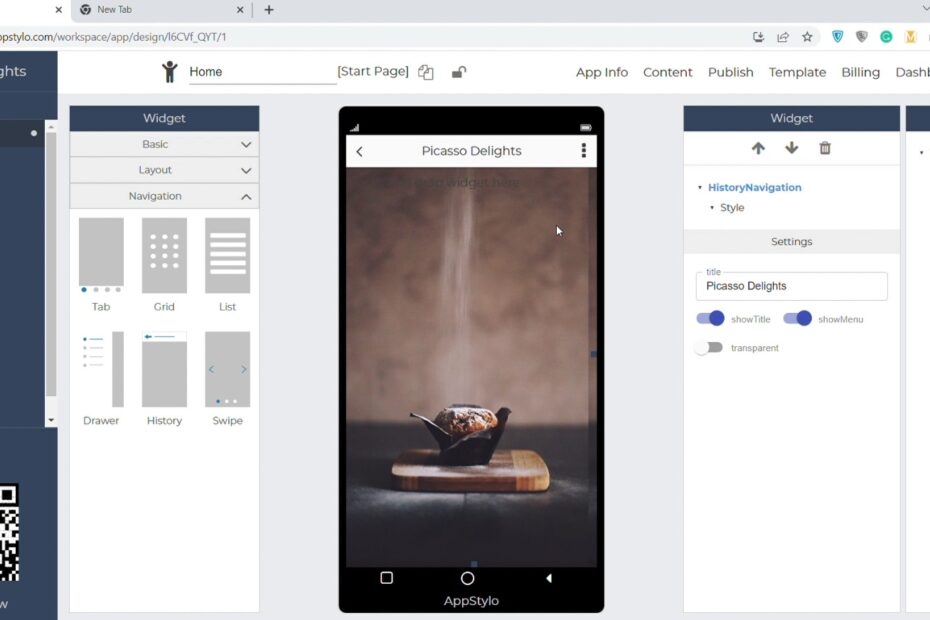
- Then you can “enter title” on the right side. For example, Picasso Delights.
Now your history navigation is ready and complete. You can further customize it based on your requirements by changing colors, text, images, fonts, etc. You can also add widgets and other elements as well.