Are you an entrepreneur or a startup owner looking to create an app? If yes, then you are in the right place. Most people struggle to create an app because they don’t know how to code.
Hiring a freelancer or an agency to create an app for you is also not very cost-efficient. So, Appstylo allows you to create a fully customized app just by using simple drag and drop. In this guide, we’ll discuss how you can implement tab navigation when creating an app using Appstylo.
Steps To Implement Tab Navigation
You must sign up (no credit card required) and then log in before you start creating an app. Once you’ve logged into your Appstylo account follow the steps mentioned below:
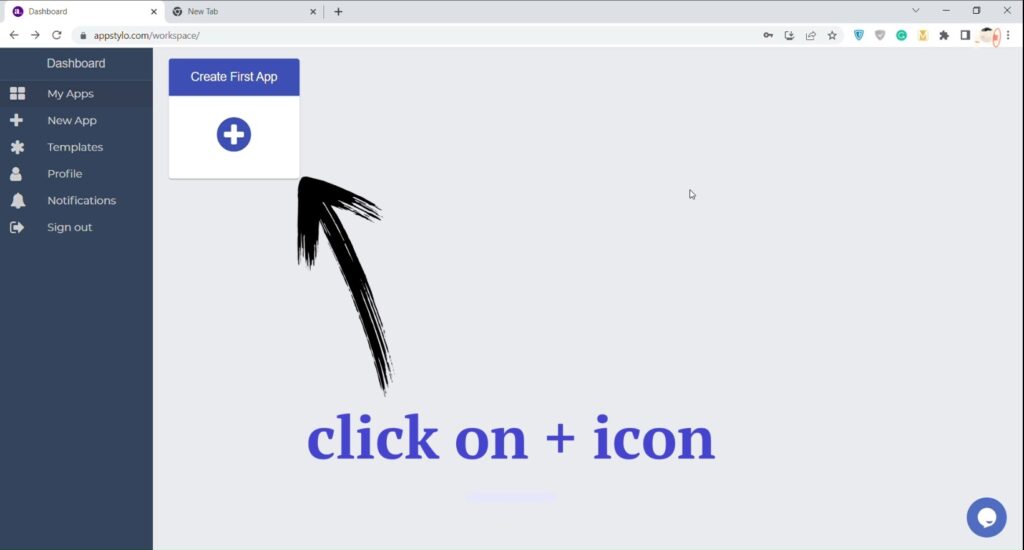
- In the first step, click on the “+” icon to create your first new app.
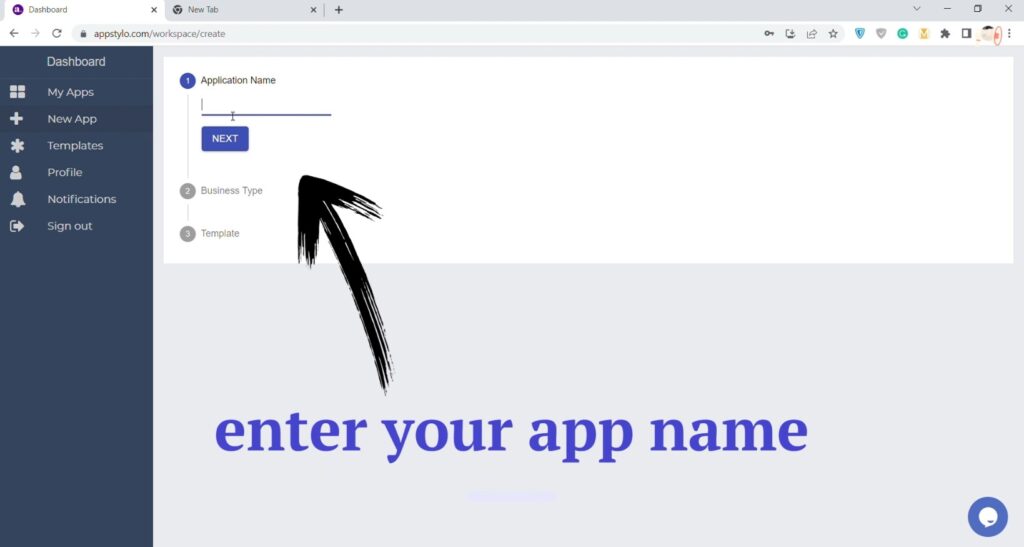
- After that, you need to enter your “Application Name”. This would be the name you want to give your app (for example, Organic Foods.), and then click on Next.
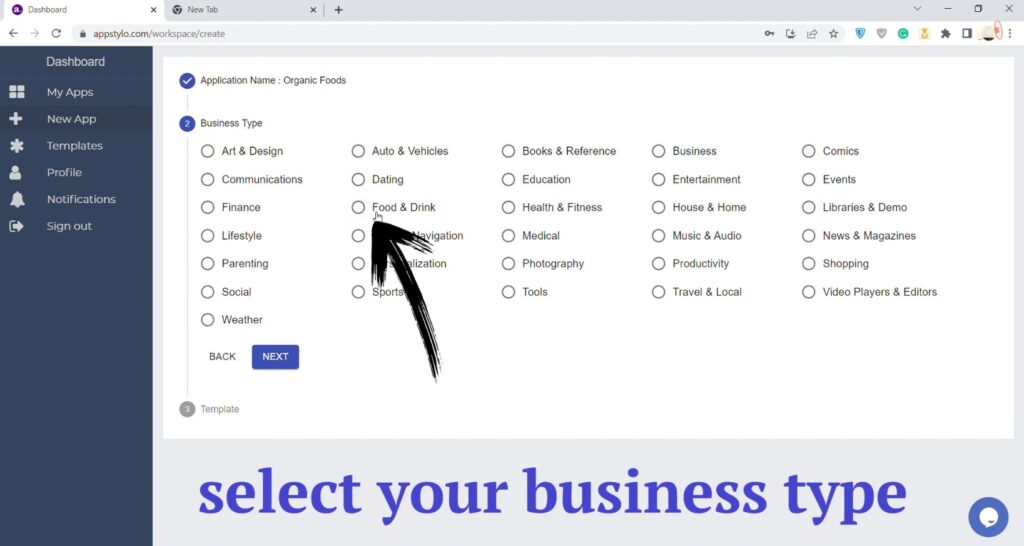
- Now you need to select your “Business Type” and click on Next. You have many options available like food & drinks, art & design, lifestyle, finance, lifestyle shopping, events, entertainment, etc.
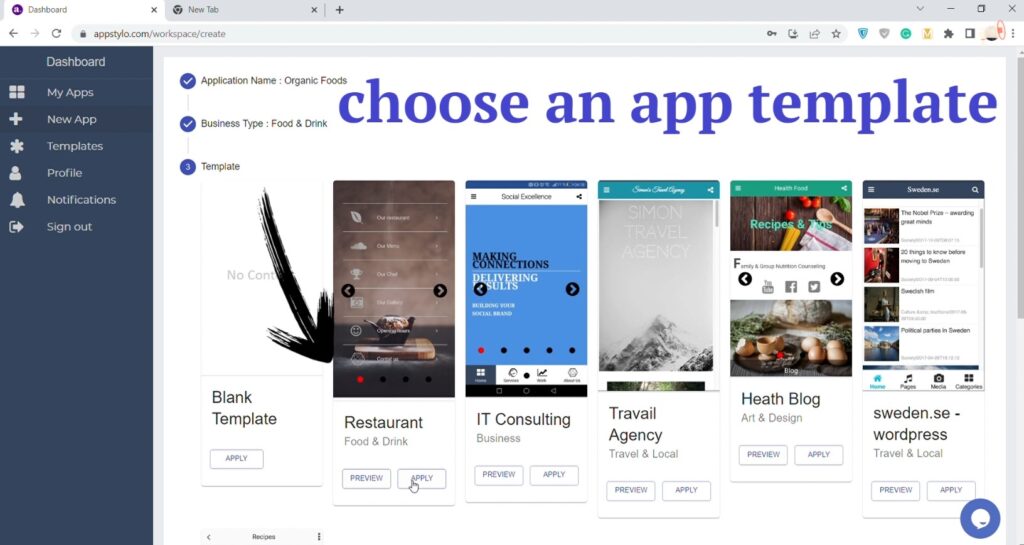
- In the next step, “choose an app template” you like. With Appstylo will have different options to select the template that suits your app requirements.
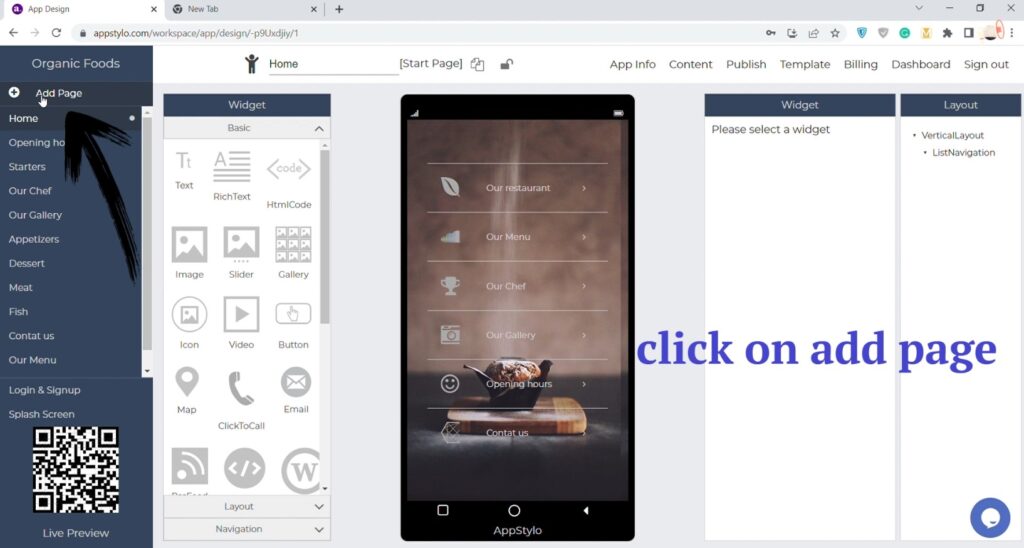
- Then click on “Add Page”.
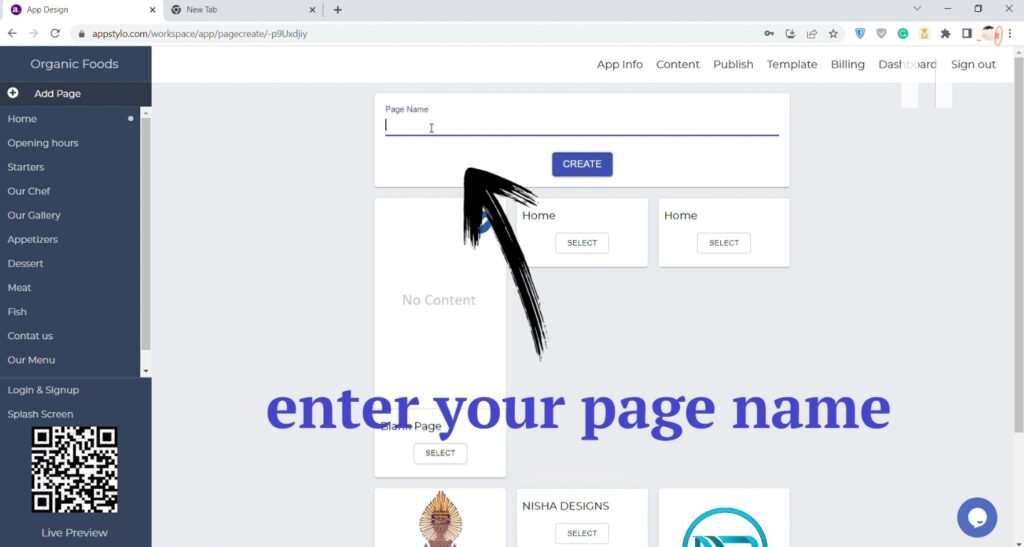
- Now enter your “Page Name” and click on Create button.
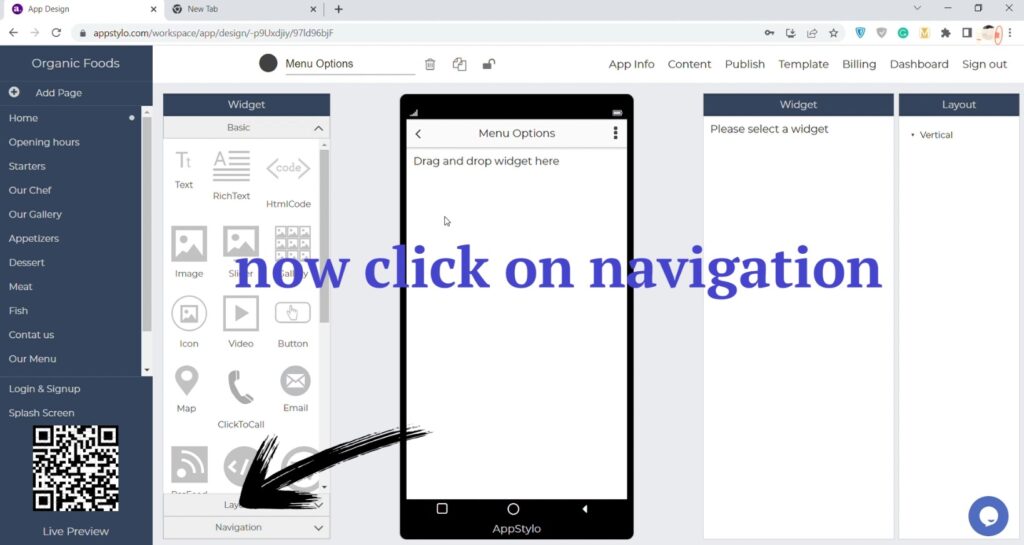
- After that click on “Navigation”.
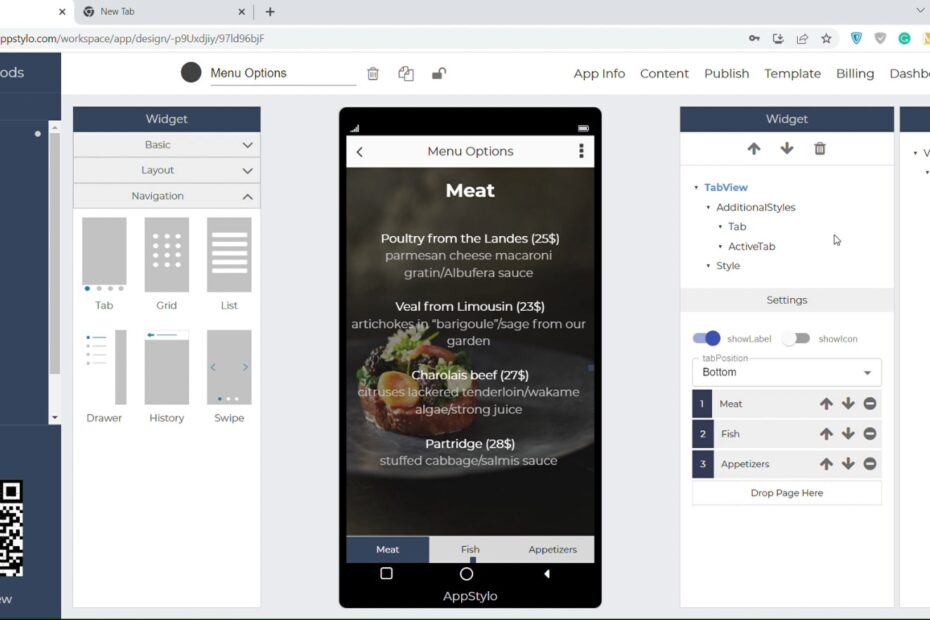
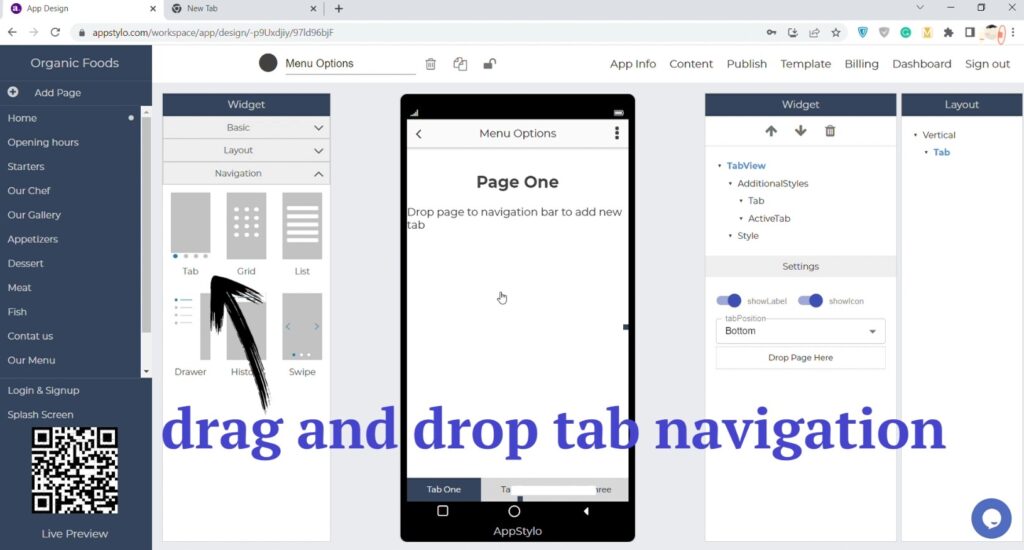
- Now drag and drop “Tab Navigation” on your app screen in the middle.
- Finally, “drag and drop pages” at the bottom of your app screen. You can add as many pages as you like simply by drag and drop.
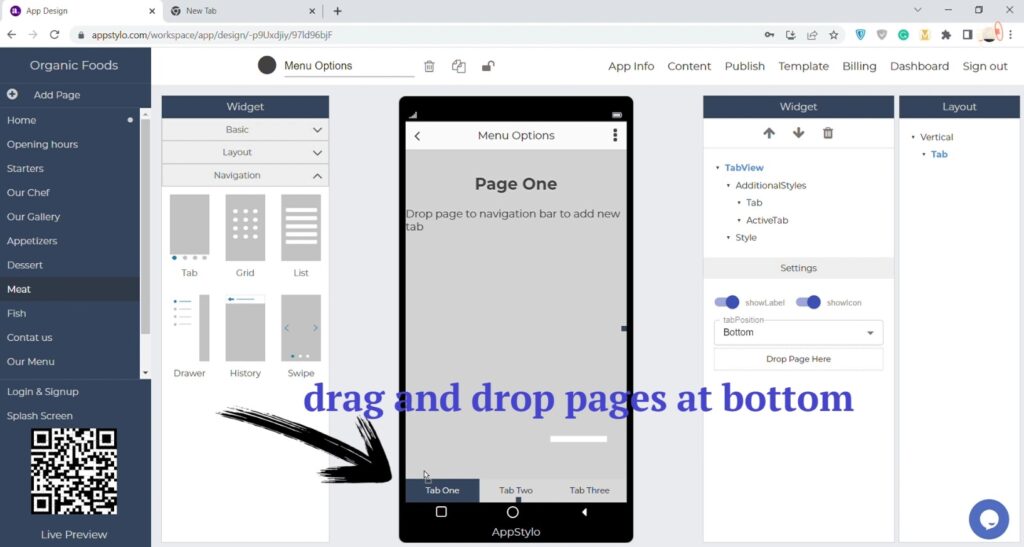
You can also customize the tab navigation whether you want to show icon of the page along with the page name or not from the settings option.
Now your tab navigation is completely implemented. You can further customize it as you like based on your business or app requirements.
